Toned glutes may be trending, but strong glutes? They’re essential—for every woman, at every age.
Behind the aesthetics of a sculpted backside lies a powerhouse of health benefits: reduced joint pain, better posture, improved balance, and increased strength for everyday life. Whether you’re navigating motherhood, entering menopause, or simply wanting to feel better in your body, your glutes are the key to a healthier, more resilient you.
Let’s explore why glute strength matters far beyond the mirror—and how to build it smartly and safely, especially if you’ve been inactive or are managing joint sensitivity, or posture issues.
Why Glute Strength Is More Than a Fitness Trend
The glutes—gluteus maximus, medius, and minimus—aren’t just aesthetic muscles. They’re foundational to how your body moves, feels, and ages.
What strong glutes do for your body:
-
Reduce lower back, hip, and knee pain
-
Support upright posture and spinal alignment
-
Prevent falls by improving balance and stability
-
Boost athletic performance and daily mobility
📊 According to the ISSA Glute Specialist Certification, glute weakness is often linked to chronic back pain, knee instability, poor posture, and even ankle sprains due to altered movement across the kinetic chain.
The Hidden Connection: Glutes, Posture & Pain Relief
Weak glutes don’t just affect your workouts—they affect your life. Here’s how:
1. Back Pain Relief Starts at the Hips
The glutes help stabilize the pelvis and support the lumbar spine. When they’re weak, surrounding muscles like the spinal erectors and hip flexors often overcompensate, which can lead to tightness, strain, and chronic lower back pain.
2. Knees and Ankles Rely on Glutes
The gluteus medius plays a major role in keeping your knees aligned during walking, squatting, or climbing stairs. When it’s weak, the thigh bone may rotate inward, leading to knee pain or instability (especially common in women due to pelvic width and hormonal changes). The same dysfunction can travel downward, affecting ankle control.
3. Pelvis = Your Postural Foundation
Inactive glutes can contribute to anterior pelvic tilt, where the pelvis tips forward, making your stomach stick out and your lower back curve excessively. This leads to poor posture and overworked back muscles. Strong glutes help bring the pelvis back into alignment.
Balance, Agility & Aging Gracefully
It’s not just about strength—it’s about control. Glute strength plays a major role in helping women stay active, independent, and safe as they age.
Strong glutes support quick, reactive movements—like catching yourself from a trip, climbing stairs, or getting up from the floor. This type of power, called neuromuscular control, improves how your body responds to life’s everyday surprises.
Common Myths About Glute Training (and What Actually Works)
❌ “Squats and deadlifts are enough.”
While great compound exercises, they often recruit more hamstrings and quads—especially in beginners with underactive glutes. Isolation and activation work is essential for glute development.
❌ “You have to feel sore to know it worked.”
Soreness is not a sign of effectiveness. Quality movement, proper load, and recovery matter far more.
✅ The truth: Glute growth and strength come from a smart mix of:
-
Muscle activation
-
Load progression
-
Directional training (horizontal and vertical)
-
Recovery and consistency
Fitness Tip: Combine vertical loading (like lunges and RDLs) with horizontal loading (like hip thrusts and bridges) to target all fibers of the glute.
Smart Programming: How to Progress Your Glute Training
Start with activation and control, then layer in resistance and complexity.
🗓️ Phase 1 (Weeks 1–4): Activation & Mobility
Ideal for beginners, postpartum recovery, or women with joint sensitivity, chronic pain, or poor posture.
Start with bodyweight only, then gradually add mini resistance bands or light dumbbells once form and control improve. These movements are low-impact and focus on restoring glute engagement and core stability.
Exercises:
-
Glute bridges
-
Banded clamshells
-
Standing kickbacks
-
Frog pumps
-
Bird dogs
How to progress:
-
Add a mini resistance band around the thighs (just above the knees) for bridges and clamshells.
-
Use ankle weights or hold a dumbbell on your hips during glute bridges as you get stronger.
-
Increase reps slowly (12–15 reps per set) and emphasize slow, controlled movements.
Focus:
-
Strengthening the mind-muscle connection
-
Rebuilding pelvic stability and core control
-
Practicing proper form to avoid compensation (like overusing the low back or quads)
🎯 Tip: If you’re feeling these moves more in your thighs or lower back than your glutes, reduce range of motion and reset alignment—form comes first.
🗓️ Phase 2 (Weeks 5–8): Strength & Symmetry
Once activation is solid and you’ve built confidence in movement, it’s time to increase resistance and introduce unilateral exercises to improve balance and correct asymmetries.
You can use bodyweight to start, then gradually add dumbbells, kettlebells, or resistance bands depending on your fitness level and joint comfort.
Exercises:
-
Dumbbell hip thrusts
-
Bulgarian split squats
-
Romanian deadlifts (RDLs)
-
Lateral band walks
-
Step-ups
How to progress:
-
Start with light to moderate weights (even 3–5kg is enough for form and control).
-
Use a bench or sofa for hip thrusts and Bulgarian split squats; place a pillow under the back knee if needed.
-
Perform movements slowly—2–3 seconds on the lowering phase (eccentric)—to increase muscle activation.
-
Add a resistance band above the knees for extra glute engagement during hip thrusts or band walks.
Form tips:
-
Keep your hips square and core engaged during single-leg work.
-
Push through your heels in hip thrusts and step-ups to maximize glute involvement.
-
Don’t rush through reps—quality beats quantity every time.
Focus:
-
Building strength with control and alignment
-
Improving muscle symmetry between right and left sides
-
Developing confidence in balance-based movement
-
Avoiding overreliance on quads or low back during load-bearing exercises
💡 Tip: If balance is tricky, use a wall or chair for support on split squats or step-ups. Stability builds with practice—don’t skip it.
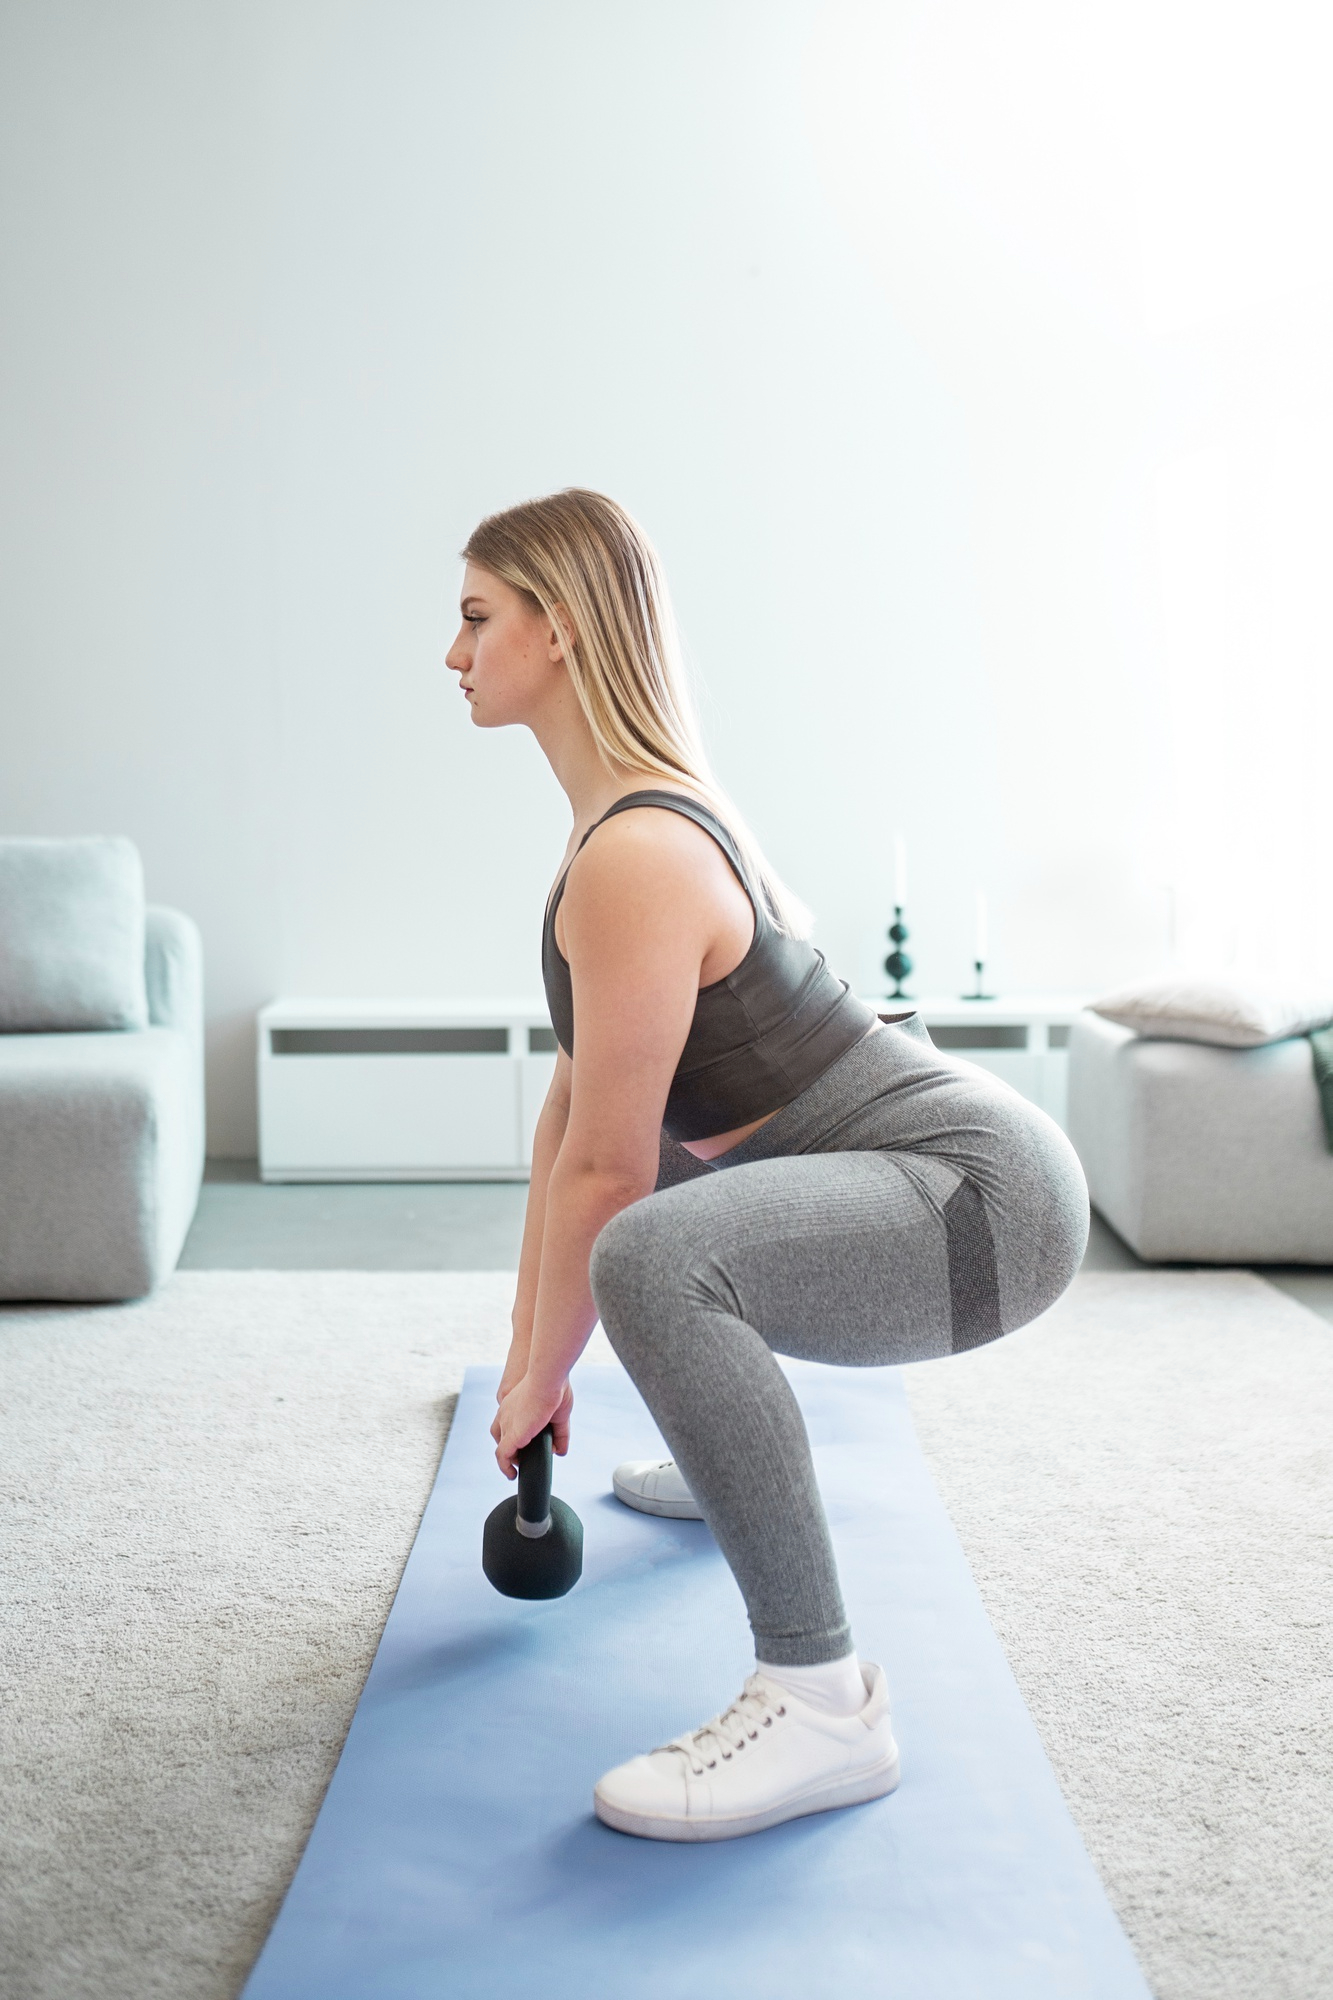
🗓️ Phase 3 (Week 9+): Power & Progression
At this stage, your glutes are primed, stable, and strong—now it’s time to challenge them with heavier loads, more volume, and advanced movement patterns. You’ll also integrate more of the kinetic chain (hips, core, shoulders, and legs working together), which is key for real-life strength, longevity, and injury prevention.
If you’re not ready for heavy barbells, that’s okay—you can still benefit by increasing resistance gradually with kettlebells, dumbbells, or resistance bands. Prioritize form and control over weight.
Exercises:
-
Barbell hip thrusts (or heavy dumbbell version)
-
Reverse lunges with overhead press
-
Kettlebell swings
-
Weighted single-leg glute bridges
-
Sled pushes (or substitute: incline treadmill marches or loaded walking lunges)
How to progress:
-
Increase your weight every 2–3 weeks if reps feel easy and form is solid.
-
Use a barbell pad for comfort during hip thrusts and aim for 8–10 reps at moderate-to-heavy intensity.
-
Add dynamic power by including kettlebell swings (a hinge-based, explosive glute exercise).
-
For single-leg work, hold a dumbbell on the working side to increase challenge while improving balance and core control.
-
If you don’t have a sled, push a heavy object (like a sandbag or loaded stroller) or use incline walking with a weighted vest or backpack.
Form tips:
-
For hip thrusts: chin tucked, ribs down, drive through the heels.
-
During lunges and bridges, keep hips level—don’t let one side collapse.
-
Kettlebell swings are about hip drive, not squatting—snap the hips forward and keep the spine neutral.
Focus:
-
Progressive overload: gradually increasing challenge for muscle growth
-
Directional variety: combining vertical and horizontal loading
-
Full-body integration: connecting upper and lower body through glutes and core
-
Confidence in real-world movement: lifting, carrying, sprinting, and reacting with power
🔁 Cycle your exercises and switch load directions weekly—alternate between hip thrust days and RDL/lunge days to target all glute fibers and avoid plateaus.
Fueling Glute Strength: What to Eat
Muscles thrive on nutrients, not just reps. Here’s how to support glute growth and strength naturally:
-
Protein: Essential for repair and recovery. Aim for ~20–30g per meal. (Try lentils, eggs, fish, chicken, tofu.)
-
Complex carbs: Fuel your workouts and support recovery (sweet potatoes, oats, quinoa).
-
Healthy fats: Support hormone balance and reduce inflammation (avocado, olive oil, walnuts).
-
Micronutrients: Magnesium, calcium, and vitamin D support bone strength and muscle contraction.
🔗 Related: [Can You Build Muscle Without Dairy or Whey? A Holistic Guide]
Posture, Confidence & Resilience
Training your glutes isn’t just about how you look—it’s about how you feel and how well your body supports you through the seasons of life.
Better posture. Less pain. Stronger bones. More energy. And yes—more confidence in leggings, too.
This isn’t about chasing perfection. It’s about building a body that feels strong, aligned, and capable—today, tomorrow, and as you age.
🌸 Be Careful with Sensitive or Weak Pelvic Floors
For women with pelvic floor weakness, postpartum sensitivity, or a history of pelvic pain, it’s crucial to exercise thoughtfully and seek medical guidance before beginning or intensifying training.
Why pelvic floor health matters:
The pelvic floor is a supportive hammock of muscles for your bladder, uterus, and rectum—crucial for continence, organ support, core function, and spinal stability .
Smart training tips for pelvic floor safety:
-
Consult a pelvic health specialist
Especially if you’ve experienced leakage, heaviness, or discomfort during exercise. A pelvic floor physical therapist (PFPT) can assess muscle function and guide safe progression -
Engage, don’t hold your breath
Before any glute-heavy movement—especially hip thrusts or lunges—gently engage your pelvic floor and core. Think of a soft “lift and hug” sensation, not a hard squeeze. -
Add Kegel exercises to your routine
Strong pelvic floor support helps with control and function during activity. Practice daily:-
Slow Kegels: lift and hold for 5–10 seconds, 10 reps
-
Quick Kegels: 15–20 fast contractions
Gradually work up to multiple sets in different positions (lying, sitting, standing)
-
-
Watch for signs of over-tension
Contrary to popular belief, pelvic floor issues aren’t only caused by weakness—they may also stem from excessive muscle tightness. Symptoms include pelvic pain, difficulty relaxing, or pain during intercourse. In these cases, reverse Kegels and relaxation techniques are key . -
Prioritize core breathing
Learning to sync deep breathing with pelvic floor engagement and relaxation helps regulate pressure and protect your muscles—essential during resistance training and lifting .
To dive deeper, check out this essential article:
👉 The Hidden Muscle Most Women Ignore Until It’s Too Late: How to Protect Your Pelvic Floor
Final Thoughts: Small Steps, Lasting Strength
Strong glutes are more than a fitness goal—they’re a foundation for health, function, and longevity. Whether you’re easing back into movement or ready to level up your strength, smart glute training can support your entire body.
Start small. Focus on form. Respect your body’s needs. And remember: your glutes are the powerhouse that will carry you through life’s movements with grace.
**This article is for educational purposes only and is not intended as medical advice. Always consult a qualified healthcare provider before starting a new exercise or health regimen—especially if you have injuries, pain, or chronic conditions.